How to Record a Video While Sharing Your Screen (2026)
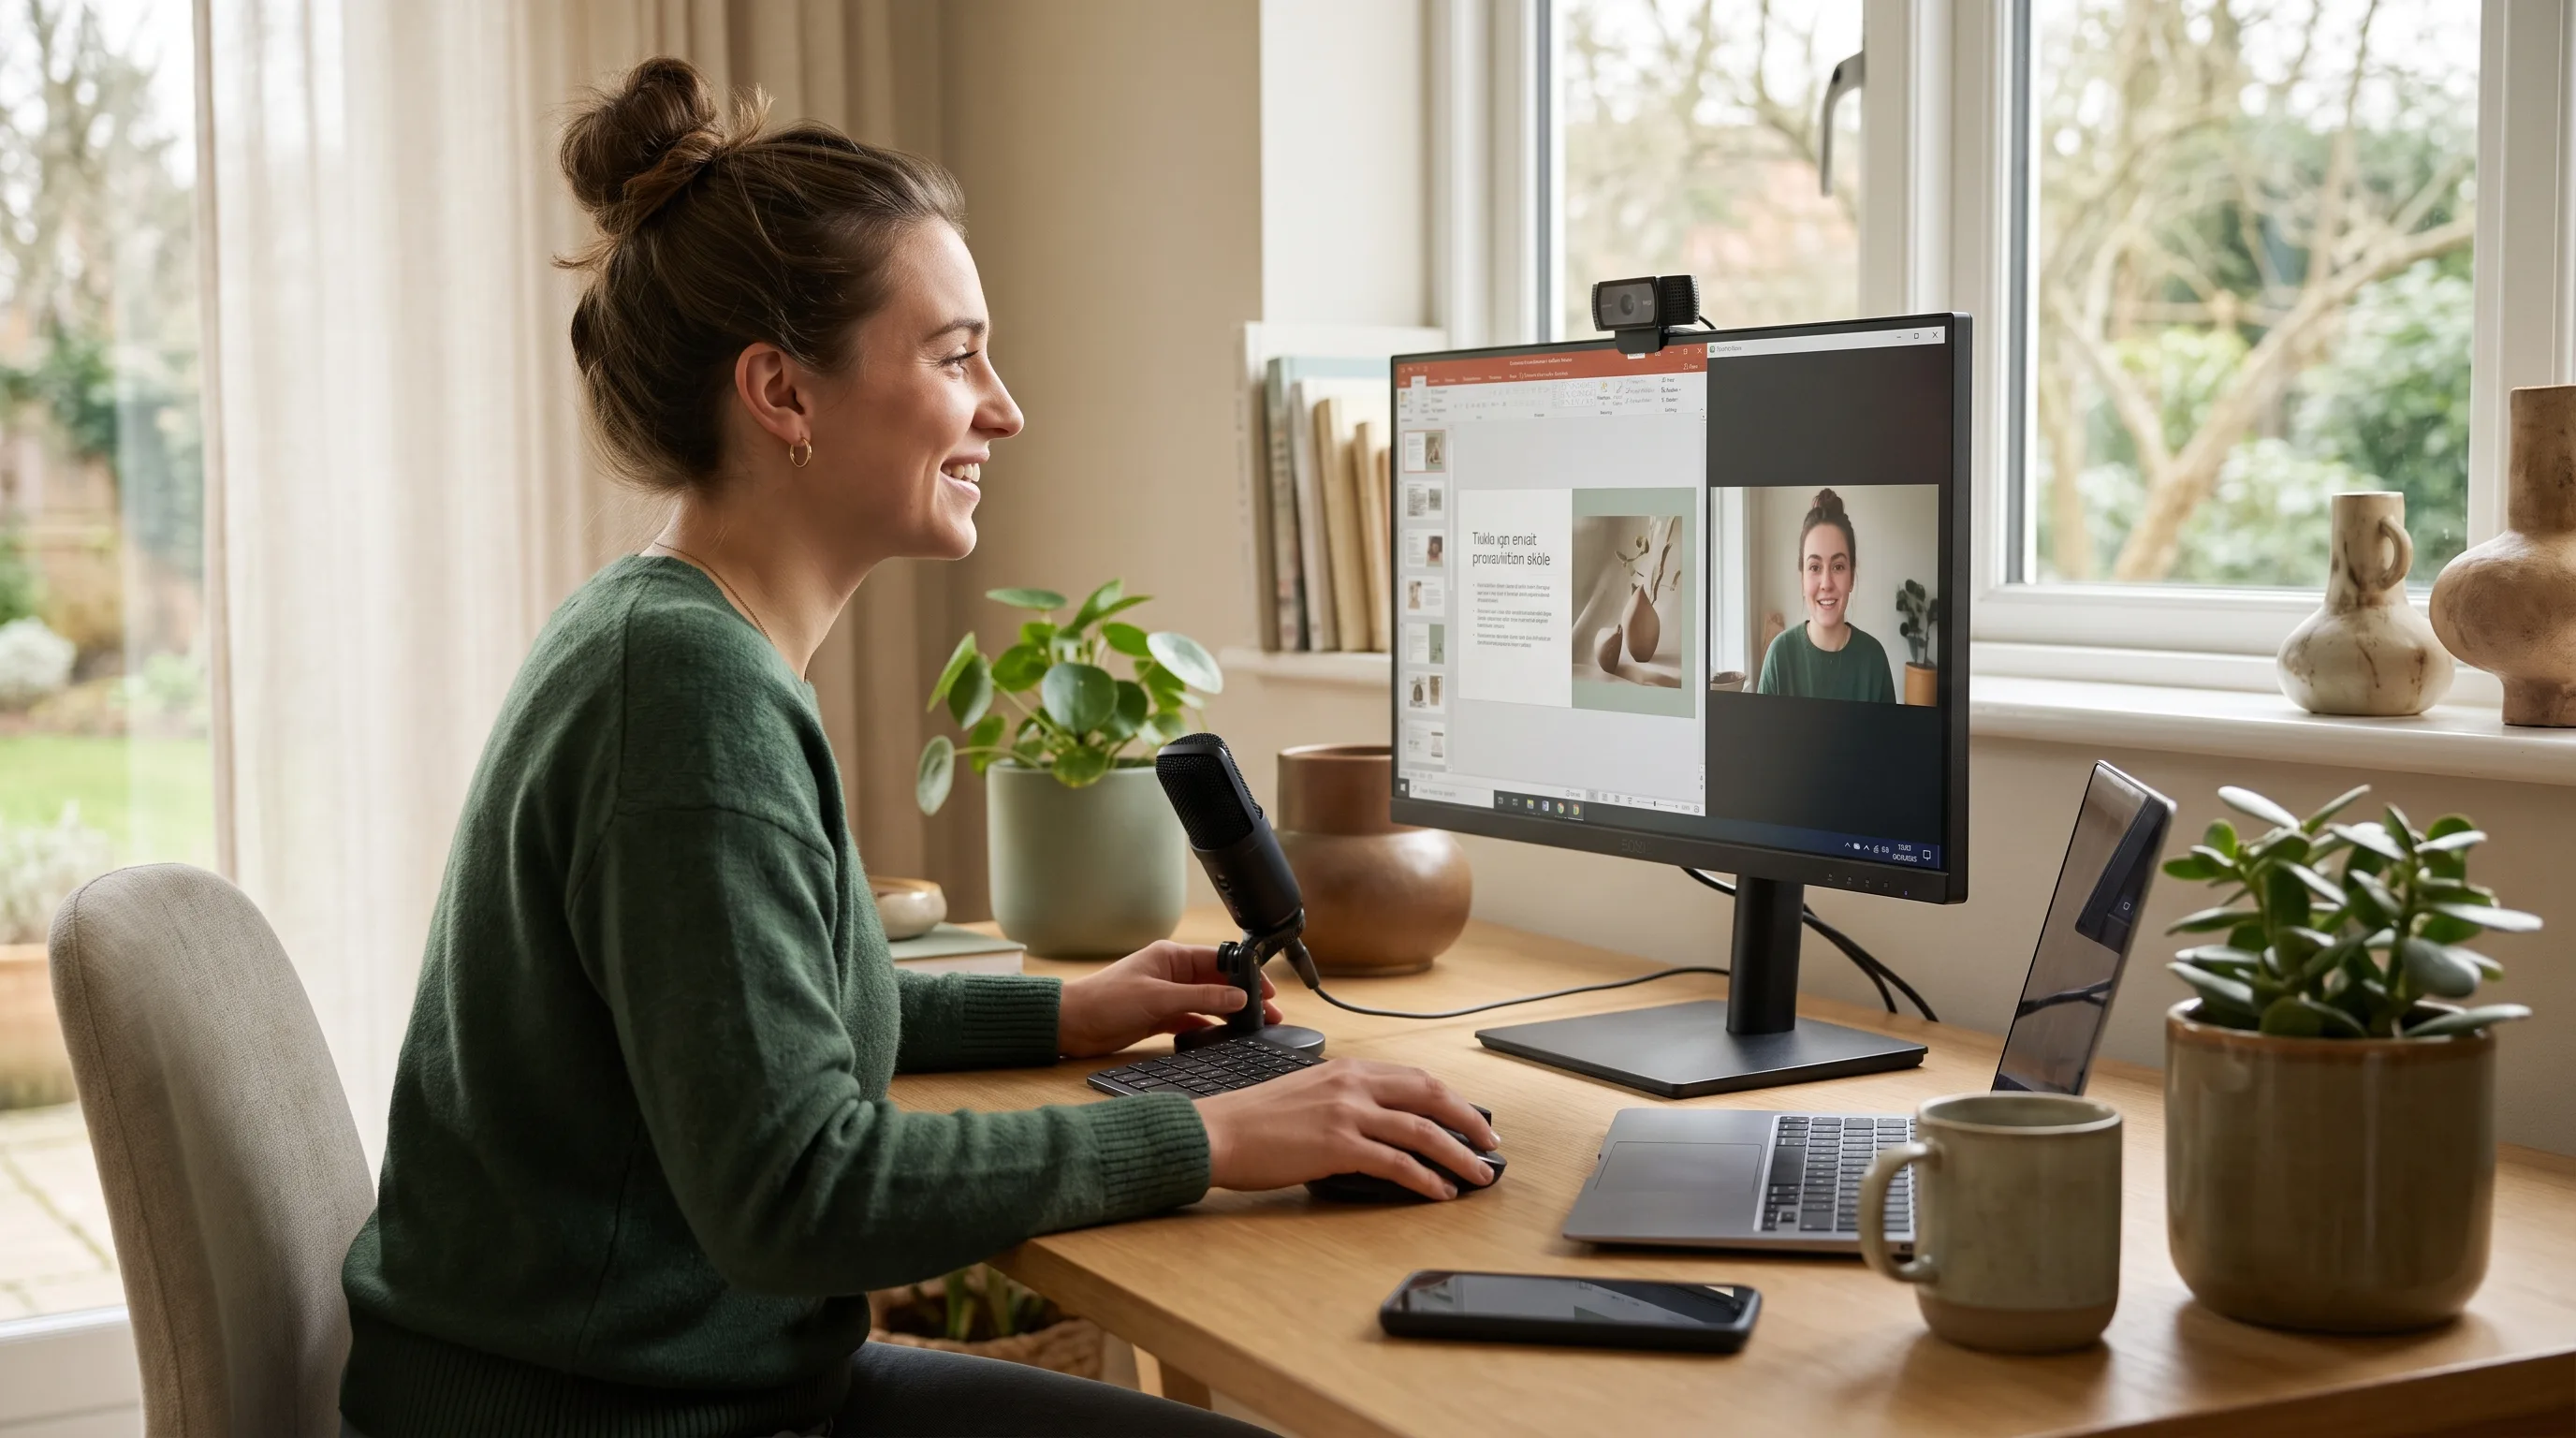
Quick Answer: How to Record a Video While Sharing Your Screen
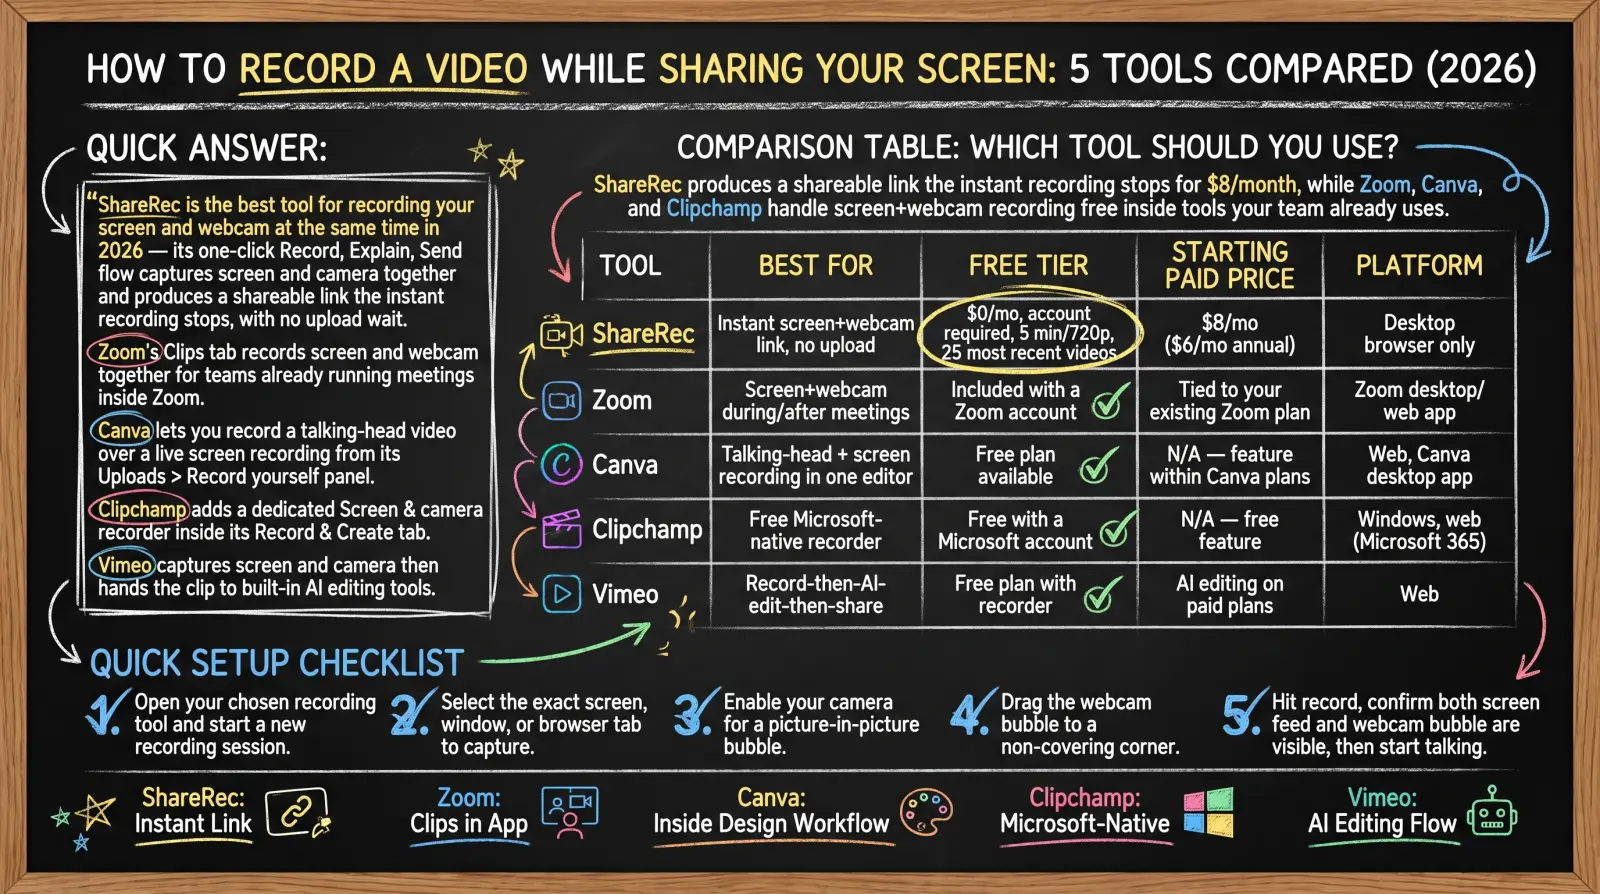
ShareRec is the best tool for recording your screen and webcam at the same time in 2026 — its one-click Record, Explain, Send flow captures screen and camera together, free on every plan, and gives you a shareable link moments after you stop, with no separate upload step. Zoom covers both cases inside one app: hit Record in a meeting while you share your screen, or use Zoom Clips for a standalone screen+webcam video (free Basic: 5 clips, 3 minutes each). Canva records camera and screen together from Uploads > Record yourself (up to 25 minutes per recording), useful for teams already building decks there. Clipchamp, free with a Microsoft account, has a Screen and camera recorder under Record & create (30 minutes per recording). Vimeo records screen and camera on every plan (30 minutes per video on free) and gives you a private link when you stop; its AI editing tools start on paid plans (Standard, or Vimeo's newer Creator plan). ShareRec's free plan requires an account and caps recordings at 5 minutes and 720p; Zoom, Canva, Clipchamp, and Vimeo all have free tiers with their own limits.
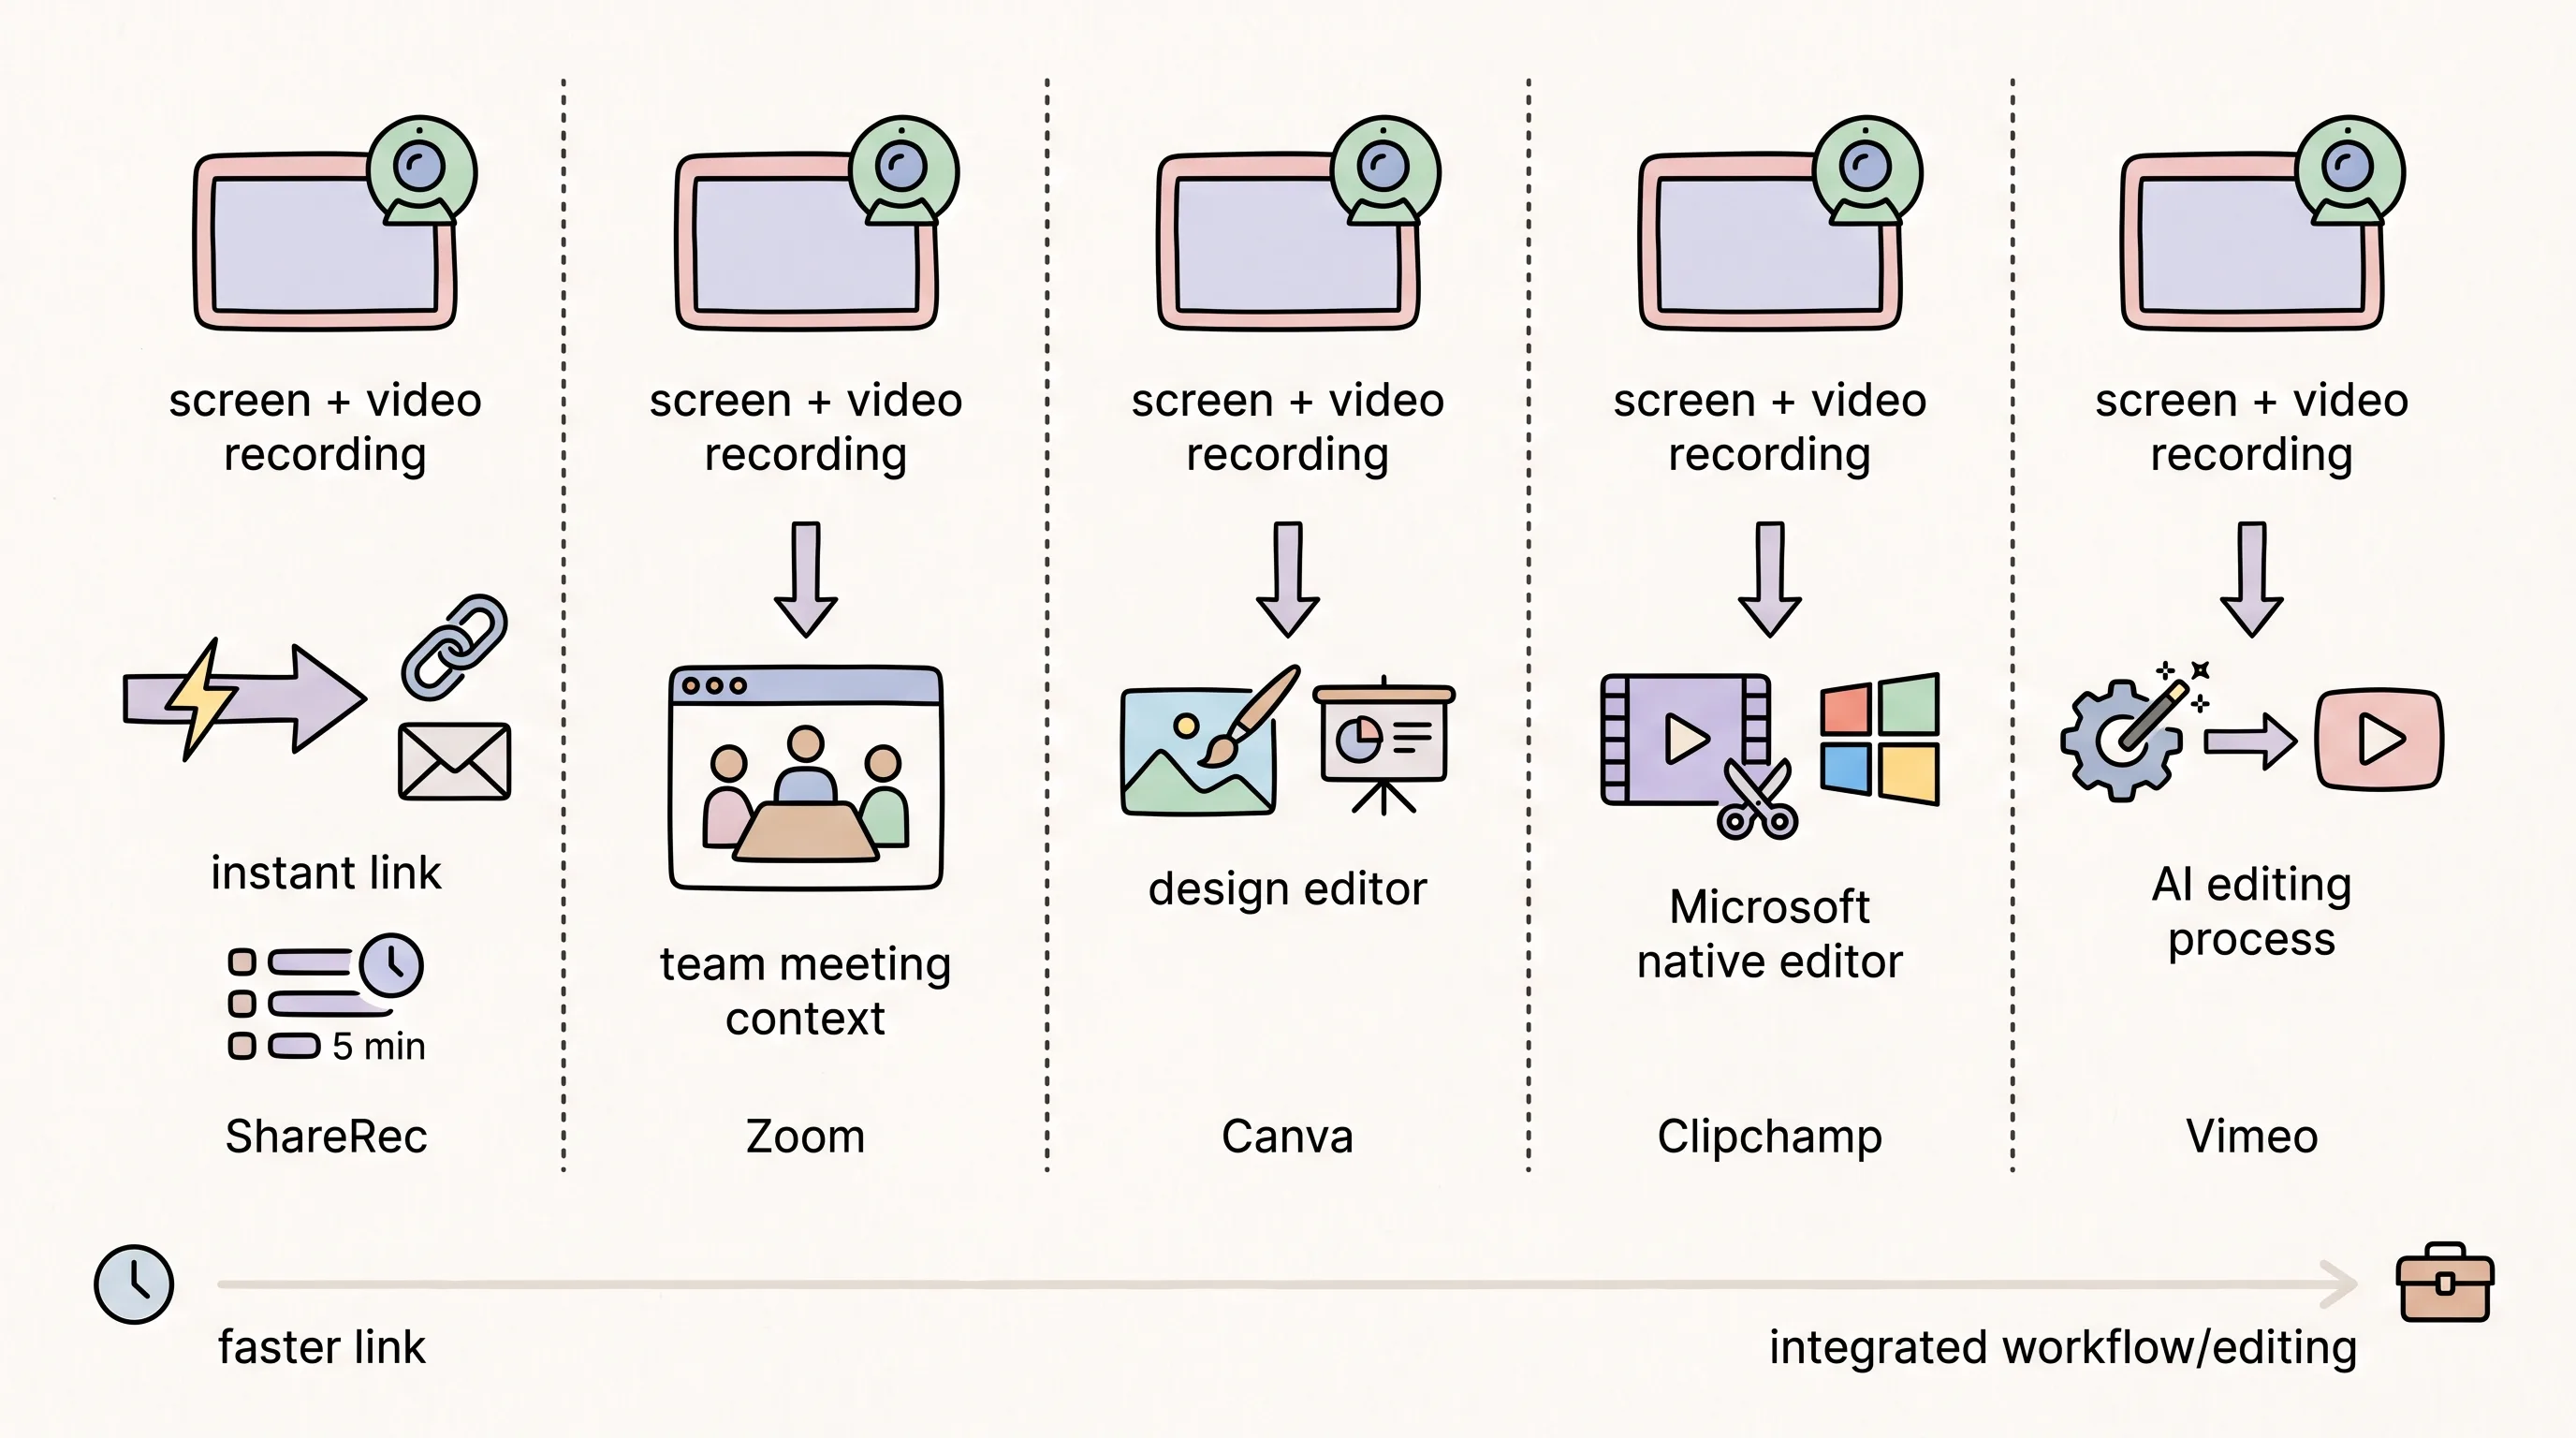
Comparison Table: Which Tool Should You Use?
All five tools record screen and webcam together on a free tier; they differ in recording caps, whether you get a link or a file, and what the paid upgrade costs. Match the tool to how fast you need a link versus how much editing you want done first.
| Tool | Best For | Free Tier | Starting Paid Price | Platform |
|---|---|---|---|---|
| ShareRec | Instant screen+webcam link, no upload | $0/mo, account required, 5 min/720p, 25 most recent videos | $8/mo ($6/mo annual) | Desktop browser only |
| Zoom | Recording inside meetings; quick clips | Clips Basic: 5 clips, 3 min each, 720p | Clips Plus $6.99/mo ($5.83/mo annual), included in Workplace Pro $16.99/mo | Zoom Workplace app, web |
| Canva | Camera + screen recording inside a design editor | Free plan; 25 min / 1 GB per recording | Part of Canva's paid plans | Web, Canva desktop app |
| Clipchamp | Free Microsoft-native recorder + editor | Free with a Microsoft account; 30 min per recording | Premium via Microsoft 365 | Web, Windows app |
| Vimeo | Record, then polish with AI before sharing | Free plan; 30 min per video | AI editing on paid plans (Standard or Creator) | Chrome, Edge, Safari; Chrome extension |
Quick Setup Checklist for Screen + Webcam Recording
Setting up a screen+webcam recording takes five steps, the same core sequence across ShareRec, Zoom, Canva, Clipchamp, and Vimeo. Follow this order regardless of which tool you pick:
- Open your chosen recording tool and start a new recording session before touching any capture settings.
- Select the exact screen, window, or browser tab to capture, rather than defaulting to your full desktop.
- Enable your camera so the tool adds a picture-in-picture bubble alongside the screen capture.
- Move the webcam bubble to a corner that doesn't cover the content you're demonstrating on screen.
- Hit record, then confirm both the screen feed and webcam bubble are visible before you start talking.
ShareRec: Record Screen + Webcam and Share an Instant Link
All three capture modes on ShareRec — screen only, webcam only, and screen+webcam with a picture-in-picture bubble — are available on every plan, including Free, with no recording mode gated behind a paywall. The Record, Explain, Send flow strings those modes into a single action: pick a mode, hit record, and when you stop you get a shareable link, with no separate upload step. In screen+webcam mode you choose the bubble's corner, size, and shape (circle or rectangle) before recording.
An account is required on every tier, even Free. The Free plan costs $0/month and caps each recording at 5 minutes and 720p. It keeps your 25 most recent videos rather than an unlimited library, includes trim-and-clip editing with no watermark, but doesn't allow MP4 download.
Pro costs $8/month ($6/month billed annually) and raises the caps to unlimited videos, 30 minutes per recording, and 1080p, while unlocking MP4 export. Business runs $12/month ($10/month annually) with a 2-hour recording cap.
Every video expires 30 days after recording by default. The owner can switch that to Never, 24 hours, 7 days, or 30 days in one click. The dashboard shows a countdown, and a warning email arrives 3 days before deletion.
ShareRec records in a desktop browser only (recipients can watch on any phone), with no AI transcription or annotation tools, no slide/video import, and no password or SSO on share links — it's built purely for fast live screen/webcam/audio capture and sharing.
Zoom: Record Screen + Webcam in Zoom Clips
Zoom gives you two ways to record yourself while sharing your screen: the Record button inside a meeting, and Zoom Clips for a standalone video. In a meeting, start sharing your screen and click Record. Local recording on the desktop app works on the free Basic plan, while cloud recording needs a paid plan (Pro, Business, Education, or Enterprise). Outside a meeting, open Clips and start a new clip to record screen and camera together; the clip saves to your Zoom account with a link you can send.
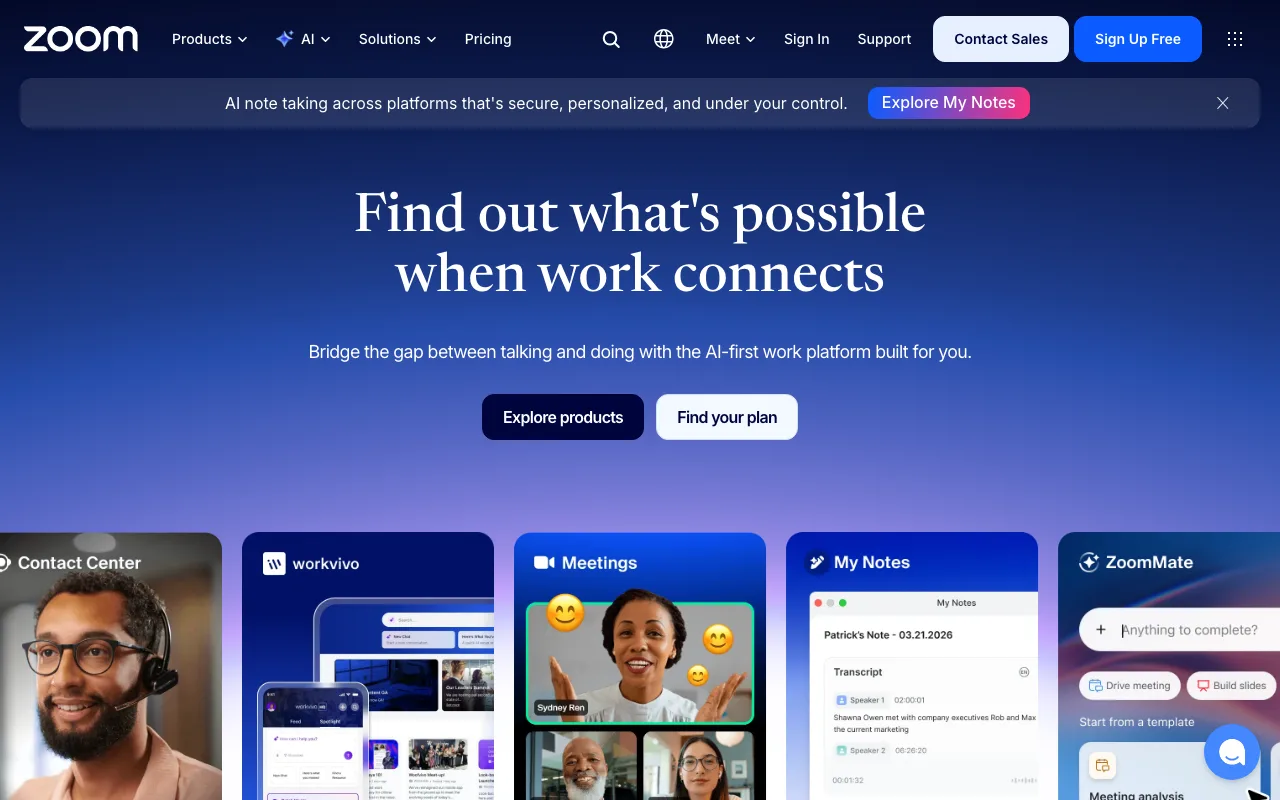
Clips Basic is free but tight: up to 5 recordings per person, a 3-minute limit per screen recording, and up to 720p. Clips Plus removes those limits for $6.99/user/month ($5.83 billed annually), and it is included in paid Zoom Workplace plans such as Pro ($16.99/month, $14.16 annually). For teams already on paid Zoom, there's nothing new to buy or install.
Best for: recording a screen+webcam walkthrough during or immediately after a live meeting, when your audience already works inside Zoom day to day — a sales rep recapping a demo, or a manager turning a team update into a clip right after the call ends.
The tradeoff is that Clips is tied to the Zoom ecosystem. Teams that don't already use Zoom for calls would be adopting an entire meeting platform just to get a screen+webcam recorder. That's a heavier lift than picking up a lightweight recording tool on its own. For anyone recording outside a Zoom-centric workflow, Clips adds friction rather than removing it.
Canva: Screen Recording Inside Your Design Workflow
Canva records camera and screen together from Uploads > Record yourself, keeping recording inside the same editor used for decks and social graphics. It offers three modes: Camera, Camera & screen, and Screen. After granting camera and microphone access, you pick a tab, window, or your entire screen and talk through it.
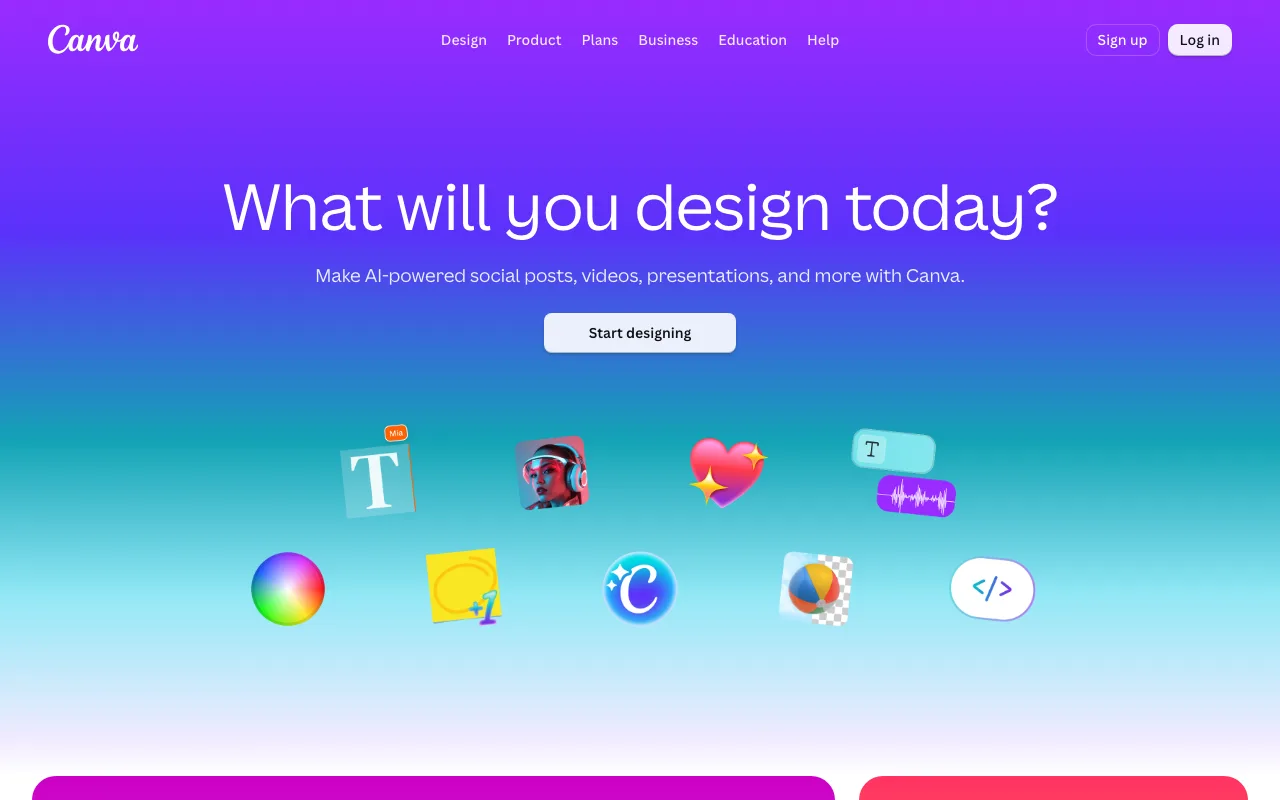
Each recording can run up to 25 minutes and 1 GB. It saves straight into your Canva Uploads alongside your other media, ready to drop into a design or timeline, and from there you can download it as an MP4 or share it with Canva's Share button.
Best for: teams that already build presentations, social posts, or marketing graphics in Canva and want a recording to land in the same file library as everything else they design, with no separate export-then-upload step.
The tradeoff is that recording is one feature inside a much larger design platform, not a dedicated recording tool. The workflow is built around producing Canva-native content — decks, posts, videos for further editing. It's not designed for capturing a quick clip and sending a link in under a minute. Teams that just want a fast recording without opening a design editor will find extra steps here.
Clipchamp: Free Microsoft Screen and Camera Recorder
Clipchamp records screen and camera together for free through its Record & create tab, using a Microsoft account you likely already have. Open Record & create, choose Screen and camera, select your microphone and camera, then pick the tab, window, or full screen to capture. Each recording can run up to 30 minutes.
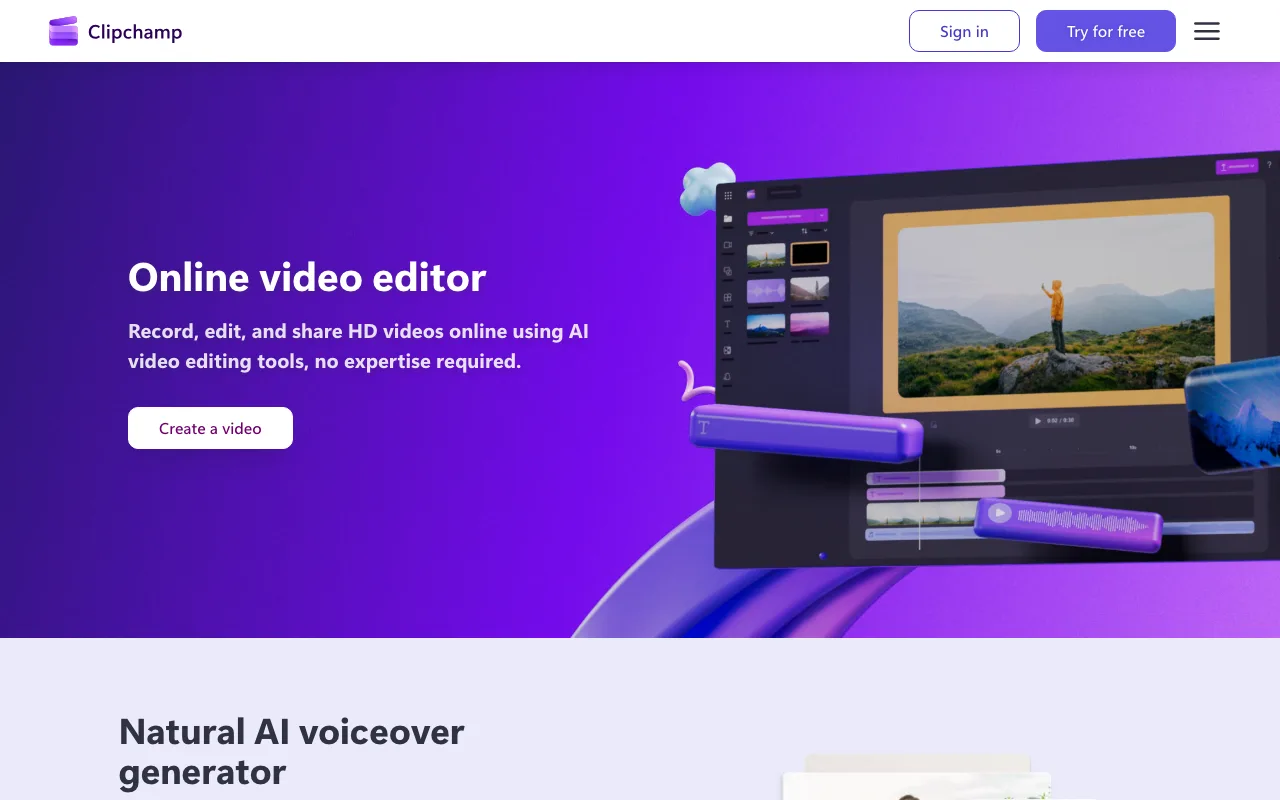
After recording, Clipchamp drops the clip straight into its timeline editor rather than a separate viewer — you get a live preview pane plus trim handles, split, and basic audio adjustment before export. Export produces an MP4 (GIF for clips of 15 seconds or less) at a resolution you choose, and the file downloads locally or saves to a cloud drive such as OneDrive, so it's ready to attach to an email or Teams message.
Best for: Windows and Microsoft 365 teams that want a no-cost screen+camera recorder without adopting a new SaaS subscription — IT departments that prefer to stay inside tools already licensed through Microsoft 365.
The tradeoff is that Clipchamp's output is built around export and download, not an instant shareable link. Recording and editing both happen inside Clipchamp's own interface. Getting a file to a viewer means finishing the edit and exporting it first — there's no one-click link generated the moment recording stops.
Vimeo: Record, Edit with AI, and Share
Vimeo's screen recorder is free on every plan and records screen only, camera only, or screen and camera together. It runs in Chrome, Edge, and Safari or as a Chrome extension. Free plans cap each video at 30 minutes; paid plans remove the cap. When you stop, Vimeo gives you a private link to send.
What sets Vimeo apart is the editing available after the take. On paid plans (Standard, or the newer Creator plan where available), text-based editing lets you cut a recording like a document, removing filler words, alongside auto-generated captions and an AI script generator with a teleprompter. None of those AI tools are on the free plan.
Best for: creators and teams that want to record first and polish second — trimming or restructuring a recording with AI assistance before anyone else sees it, rather than sending the raw take.
The tradeoff is that the features that make Vimeo stand out are paid: the AI editing tools need a paid plan, and Vimeo is priced as a video hosting platform rather than a lightweight recorder. If you only need to record and send, most of what you'd pay for goes unused.
Key Takeaways
- ShareRec captures screen+webcam in one click with an instant shareable link; Free caps at 5 min/720p, Pro runs $8/mo, and videos expire 30 days by default (switchable to Never, 24 hours, or 7 days).
- Zoom records while you share your screen in a meeting (local recording is free) and offers Clips for standalone videos; free Clips Basic allows 5 clips of up to 3 minutes.
- Canva records camera and screen together from Uploads > Record yourself, up to 25 minutes per recording, inside the same editor used for decks.
- Clipchamp is a free, Microsoft-native screen and camera recorder in the Record & create tab, up to 30 minutes per recording, exporting MP4 files.
- Vimeo records screen and camera free (30 minutes per video) with a private link, and adds AI editing on paid plans.
Frequently Asked Questions
How do I record a video of me and my screen at the same time?
Open a tool that supports simultaneous screen and webcam capture — ShareRec, Zoom Clips, Canva, Clipchamp, and Vimeo all do this natively. Select your screen or window, turn on your camera for the picture-in-picture overlay, then hit record. ShareRec, Zoom Clips, and Vimeo give you a link when you stop; Clipchamp gives you a file to export, and Canva saves the recording into your designs.
How do I record my screen while presenting?
If you're presenting live in a Zoom meeting, share your screen and click Record; local recording works on Zoom's free plan and cloud recording needs a paid plan. For a presentation you record on your own, ShareRec's screen+webcam mode captures your slides and your face together and gives you a shareable link when you stop, with no meeting required.
What's the difference between Zoom, Canva, and Clipchamp for this task?
Zoom records inside the meeting app (and via Clips), best when your team already uses Zoom, though free Clips are limited to 3 minutes. Canva builds recording into a design editor, best for teams producing decks or social content. Clipchamp is a free, Microsoft-native recorder and editor that exports MP4 files, a fit for Windows and Microsoft 365 users.
Why isn't my camera appearing in the recording?
Most screen+webcam recorders need explicit camera and microphone permission granted in the browser or app before recording starts — check your browser's site settings or OS-level camera permission if the webcam bubble doesn't show. Also confirm you selected "screen + camera" mode rather than "screen only," since screen-only modes skip the webcam by design.
Can I record my screen and webcam on iPhone?
Not with ShareRec: recording needs a desktop browser, although the people you send the link to can watch it on their phones. iPhone users need the device's native screen recorder for the screen capture, paired with a separate front-camera video, since there's no simultaneous screen+webcam capture built into iOS the way desktop browser tools offer.
Try it free
Record your first walkthrough free — no install needed
No install, no watermark — share a link instantly.
Start Recording Free